How Can We Help?
Step-by-Step Guide to Integrate Webflow Forms with aNinja
Follow these simple steps to connect your Webflow form with aNinja and start capturing leads automatically.
- Go to aNinja 2.0
-
Select the Form Block
Open your project in Webflow Designer and select the form you want to integrate with aNinja. Once selected, the settings panel will appear on the right side of the screen.
-
Open Form Settings
In the settings panel, click the gear icon (⚙️) to access the Form Settings.
-
Configure the Action and Method
In the Form Settings, locate the Action and Method fields:
-
Action: Paste your unique aNinja webhook URL here. This is the endpoint where Webflow will send your form data. The URL should look like this:
https://addlead-z6dlaugova-uc.a.run.app -
Method: Set this to
POST. This is the standard method for submitting data to a server.
-
Action: Paste your unique aNinja webhook URL here. This is the endpoint where Webflow will send your form data. The URL should look like this:
-
Name Your Form Fields
To ensure aNinja maps your form data correctly, each form field must have a clear and consistent name:
- Select each form input (e.g., Name, Email, Phone).
- In the settings panel, set the Name attribute to match what aNinja expects (e.g.,
name,email,phone).
This process ensures that the data sent via the webhook is correctly parsed and stored in aNinja. It’s important to note that there is no visual interface (UI) for this field mapping — it’s a manual step based on naming conventions that align with aNinja’s backend.
-
Publish Your Site
After configuring the form, publish your site for the changes to take effect. From this point on, every time a user submits the form, their data will be sent directly to your aNinja account and added as a new lead.
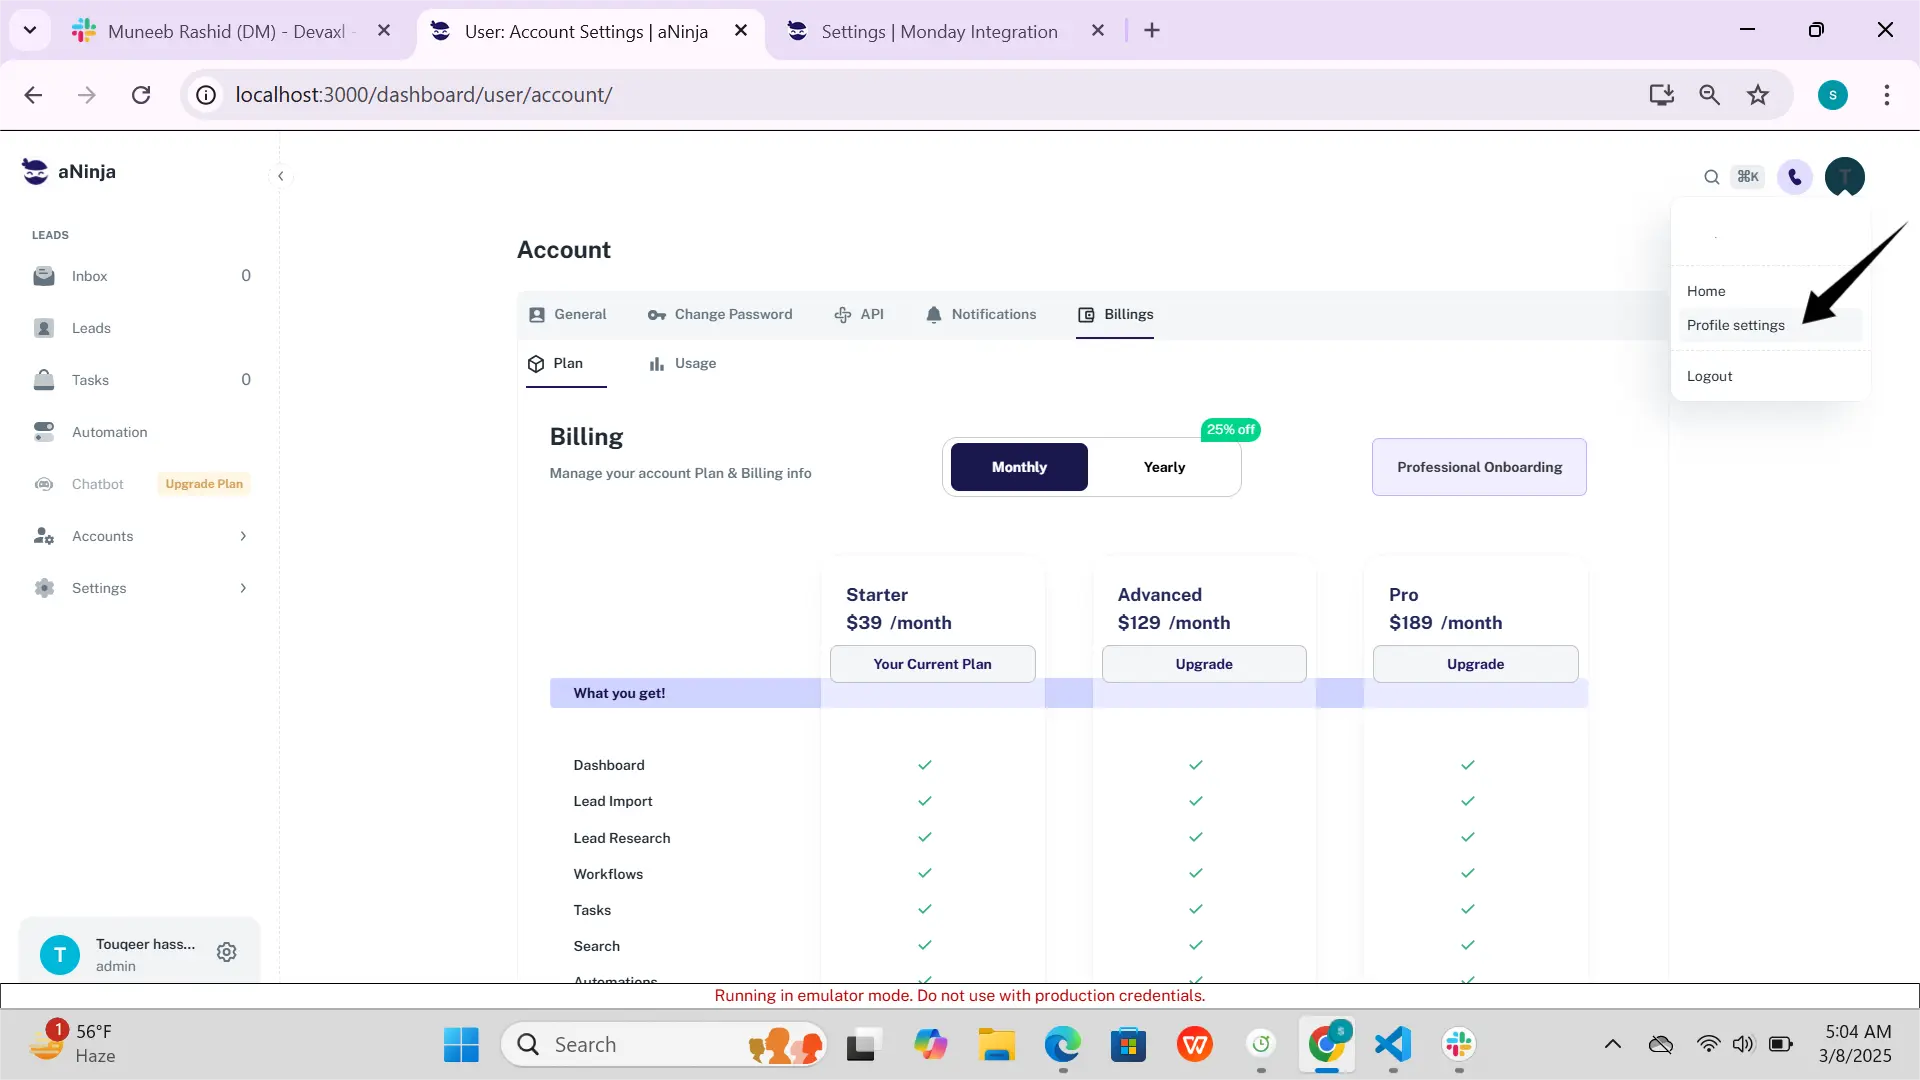
On the top left of your aNinja, click on your name dropdown and choose Profile settings.
Click on API Tab, and copy the keys for future use (Webhook URL and Webhook Handshake Key).

How to Map Fields ✍️
Users handle field mapping by naming the fields in their Webflow form to match the expected field names in aNinja’s API. This allows aNinja to understand and assign the incoming data correctly. Here’s how to do it:
1. Naming Form Fields in Webflow
In the Webflow Designer, select each input field in your form. Then in the Element Settings Panel (gear icon), locate the Name attribute. The value you assign will become the key in the JSON payload sent to aNinja.
- For Email: Name the field
email - For Full Name: Name the field
name - For Phone Number: Name the field
phone - For Company Name: Name the field
company - For a Custom Field: Use a descriptive name like
leadSourceorbudget
2. How the Data is Received by aNinja
When a user submits the form, Webflow sends a JSON object to aNinja’s webhook endpoint. The keys in that object are based on the field names you assigned in Webflow, and the values are the user’s responses.
Example:
{
  "email": "[email protected]",
  "name": "Jane Doe"
}
aNinja automatically maps this information to the corresponding fields in the contact record. This manual naming convention is the core of the field mapping process.