How Can We Help?
Leadsbridge aNinja Integration
LeadsBridge is an automation tool built to help businesses enhance their lead generation efforts. It also supports automating audience management and optimizing full-funnel tracking. With aNinja, you can seamlessly transfer leads collected through LeadsBridge into your aNinja CRM account.
Connecting LeadsBridge with aNinja
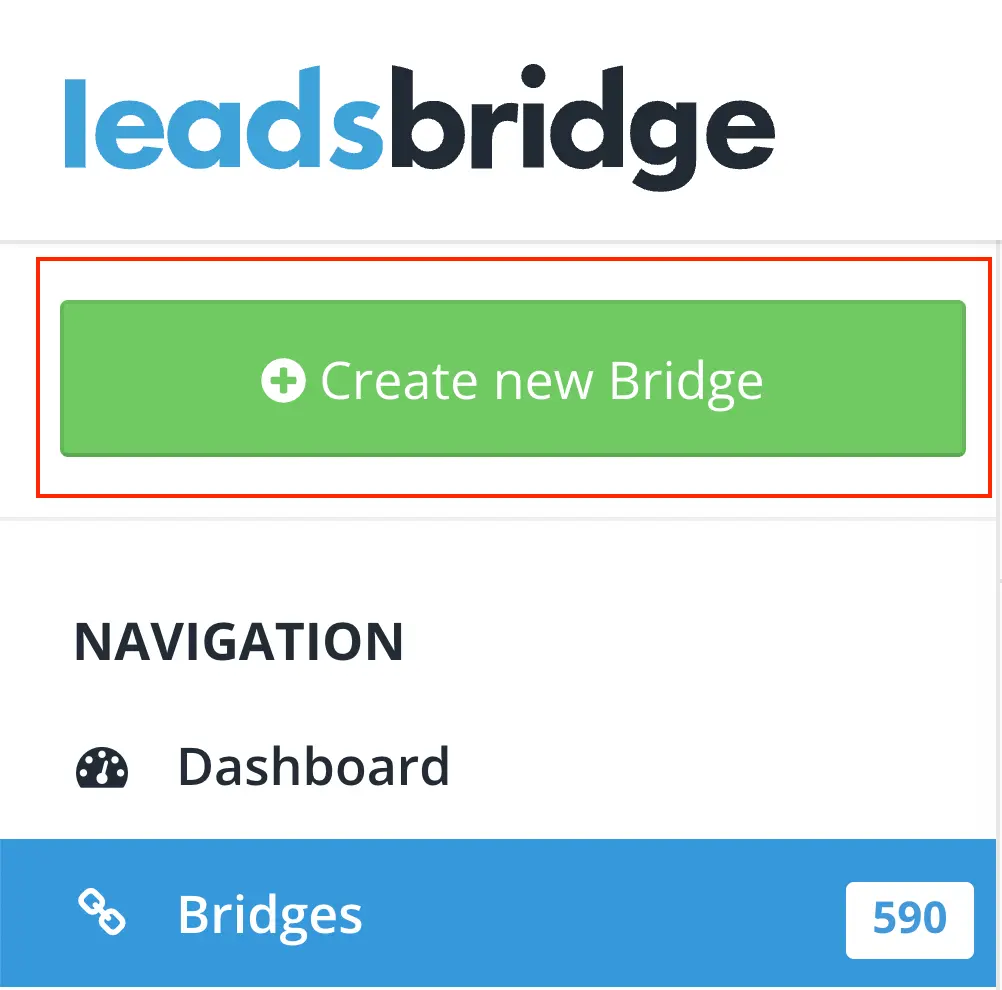
- In your LeadsBridge dashboard, click Create New Bridge located at the top left.
Choose the apps you want to connect:
- Select Leads Ads (e.g., Facebook) as the Source
- Choose HTTP Request (GET/POST) for the Destination
- Click Continue

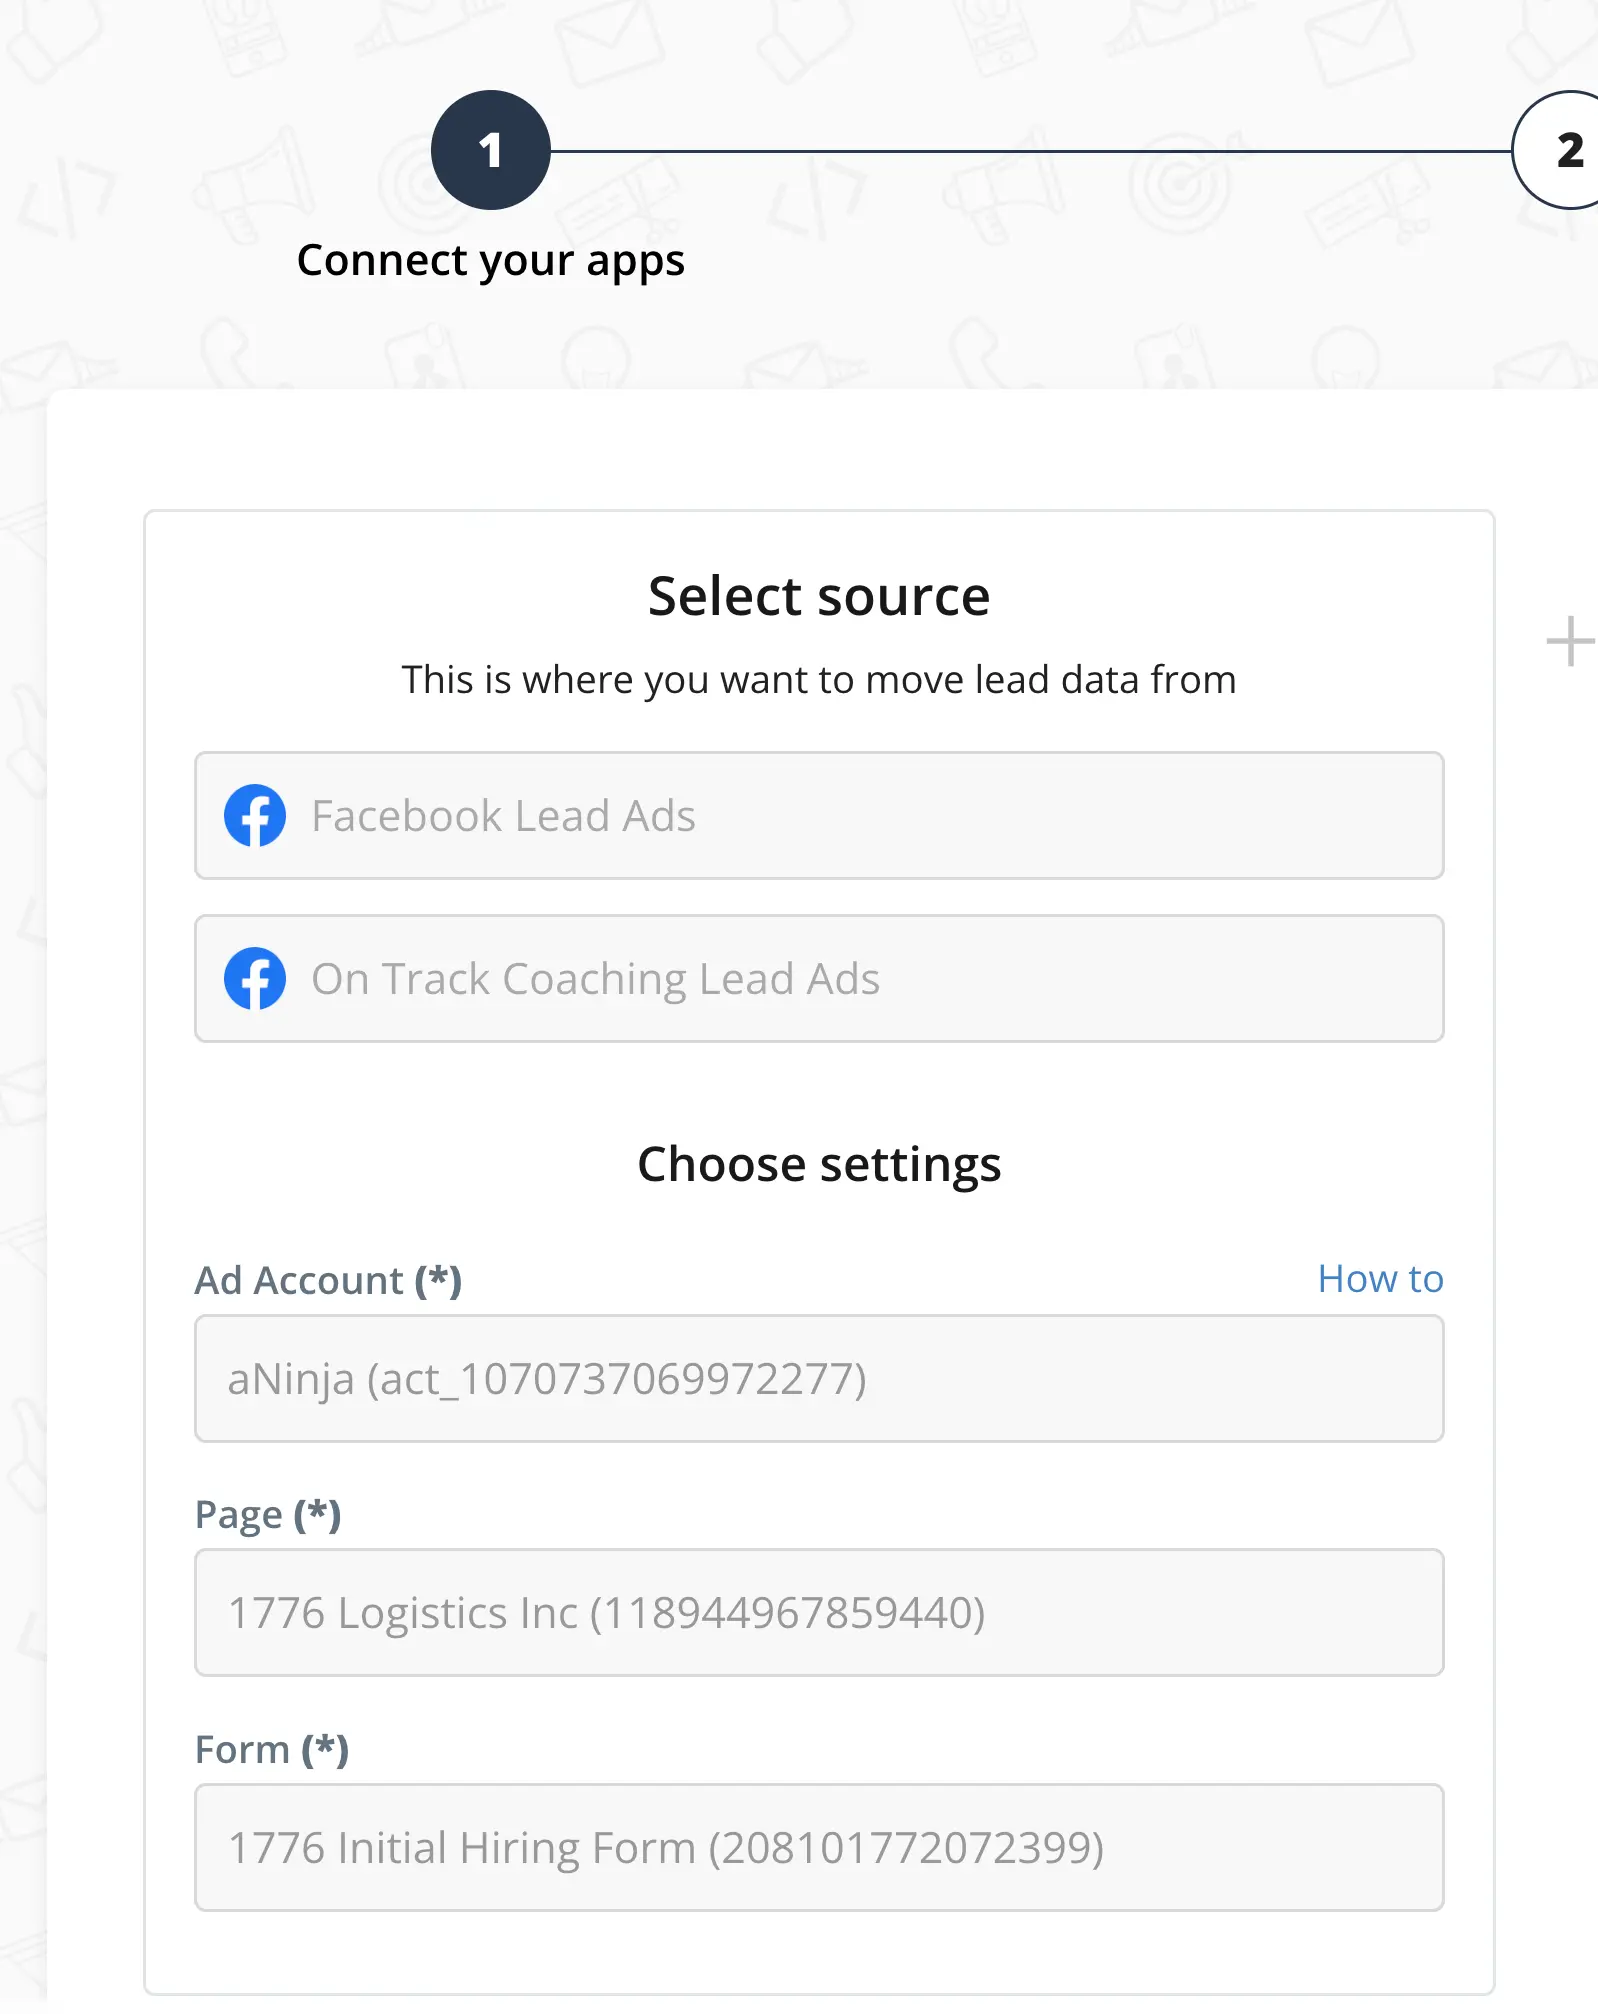
Under Source Setup
- Choose Create New Integration from the dropdown.
- Authorize your Facebook account with LeadsBridge.
- Select your Facebook Ad Account.
- Pick the Facebook Page and then the Lead Form you wish to connect.
Getting Your aNinja API Key and URL
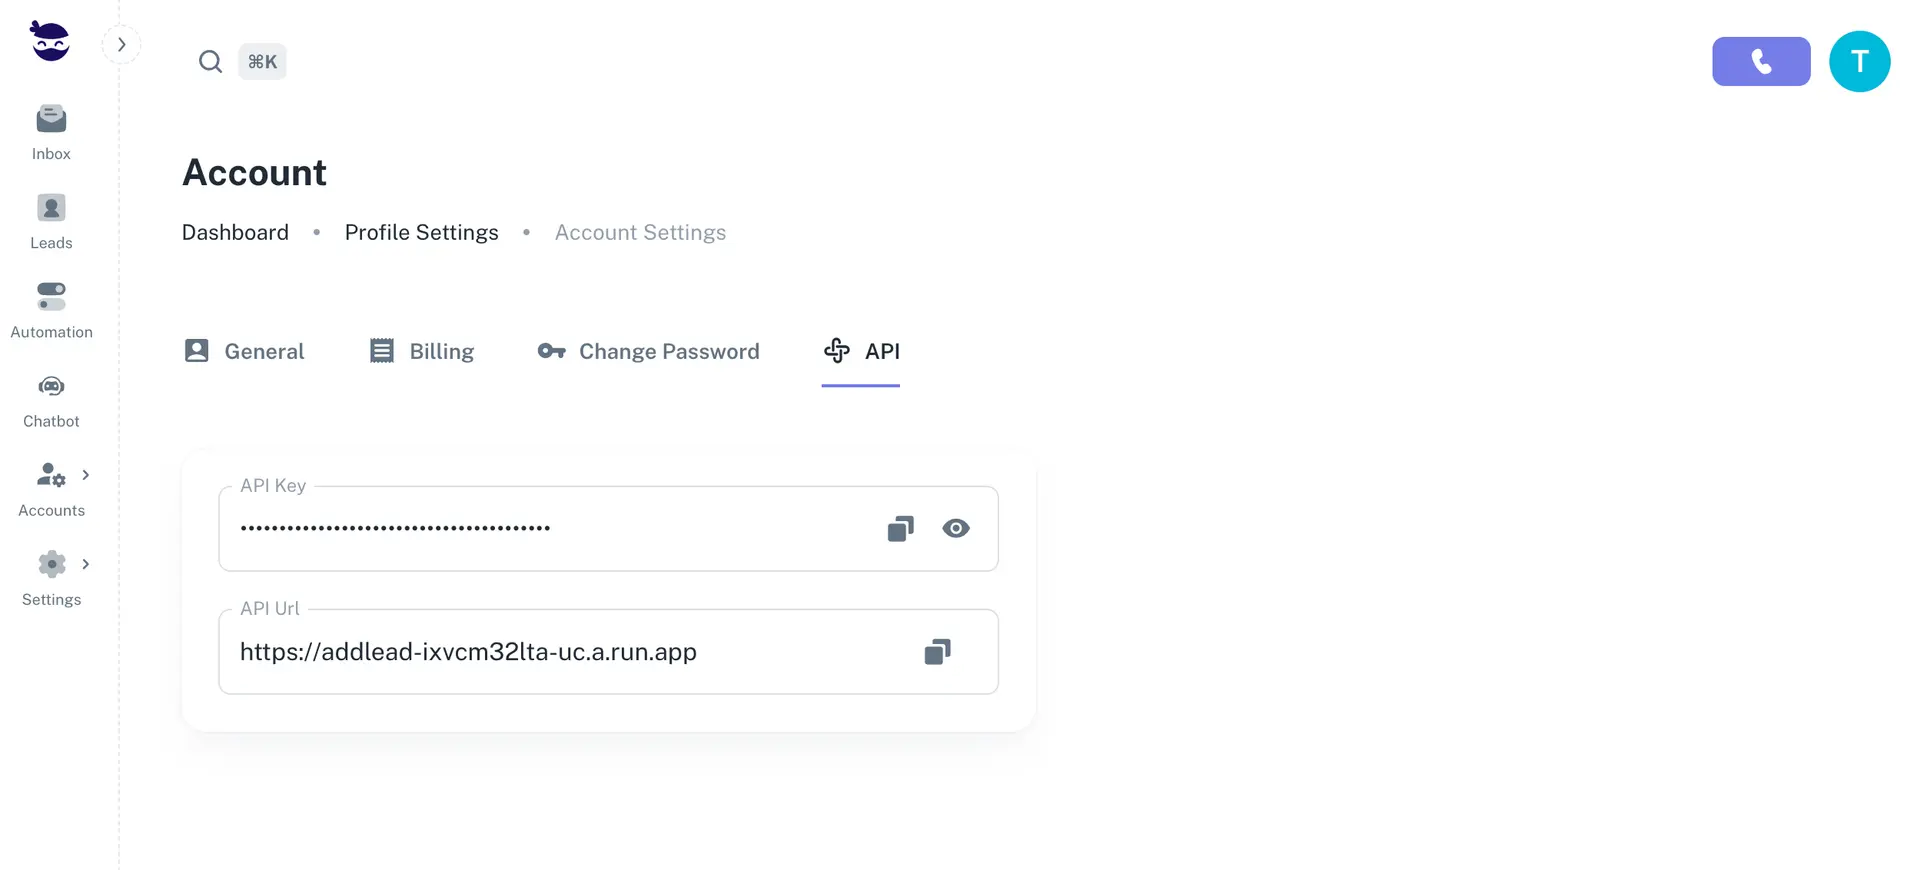
- Go to your aNinja dashboard.
- Click your name dropdown on the top left and select Profile settings.
- Open the API tab.
- Copy your private API Key and API URL.
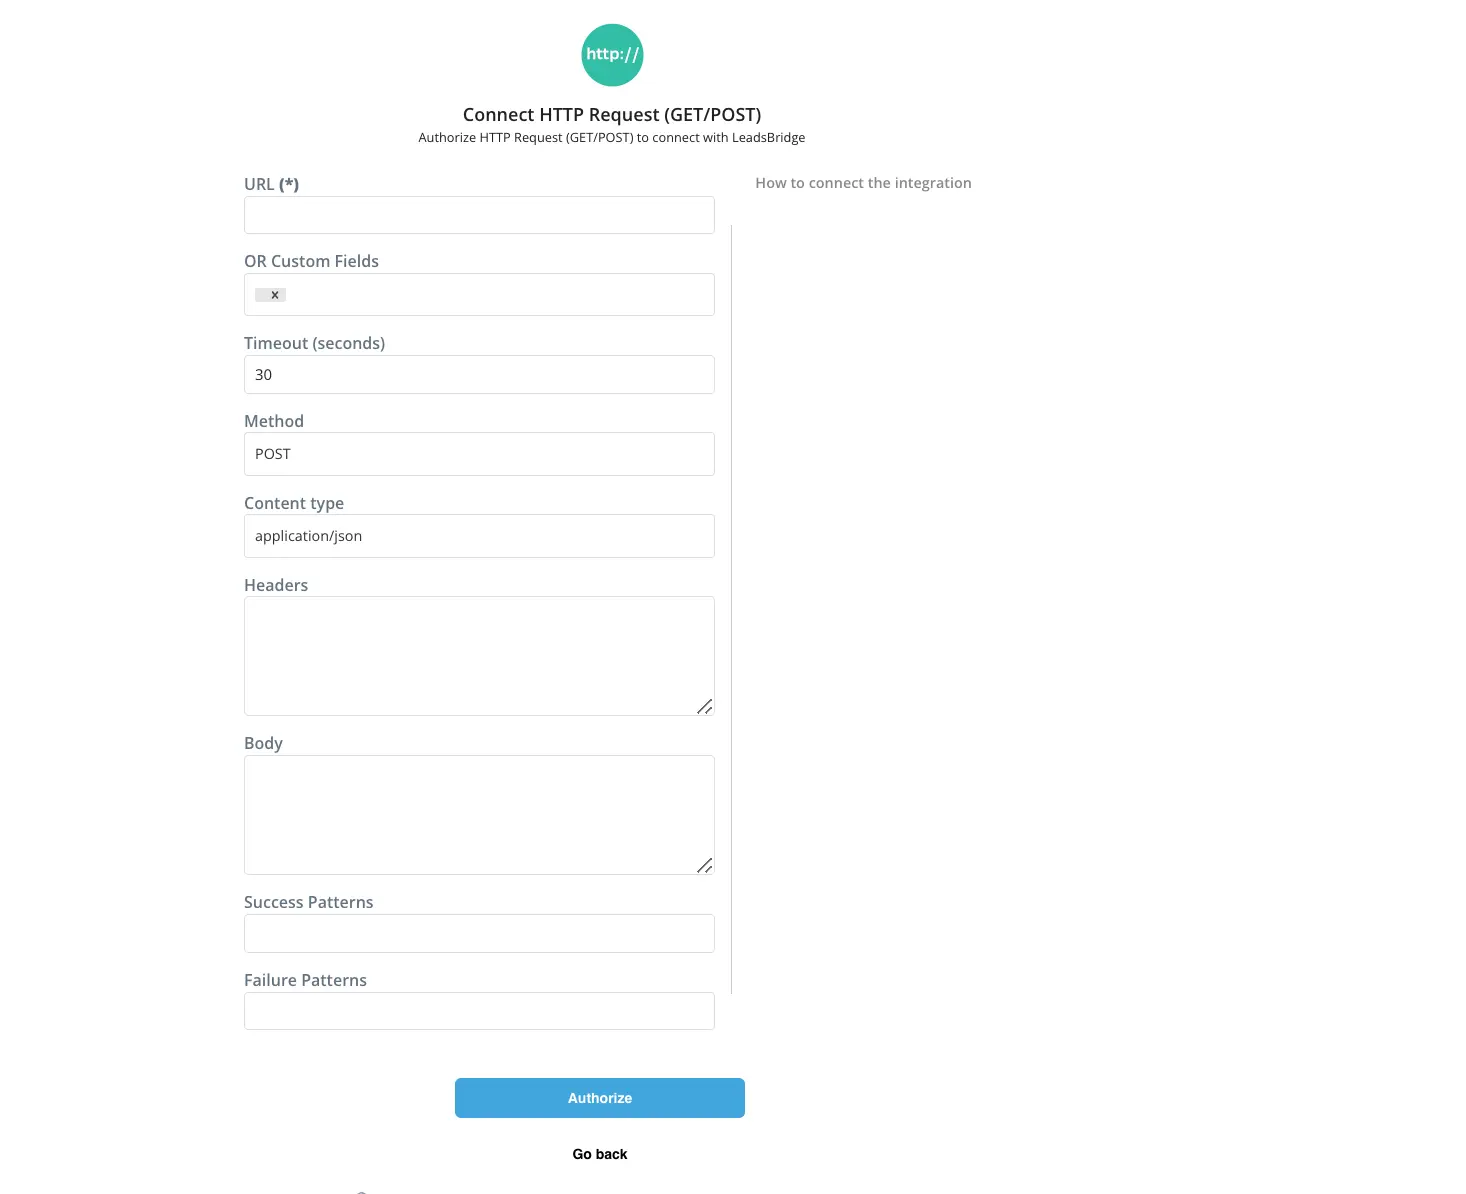
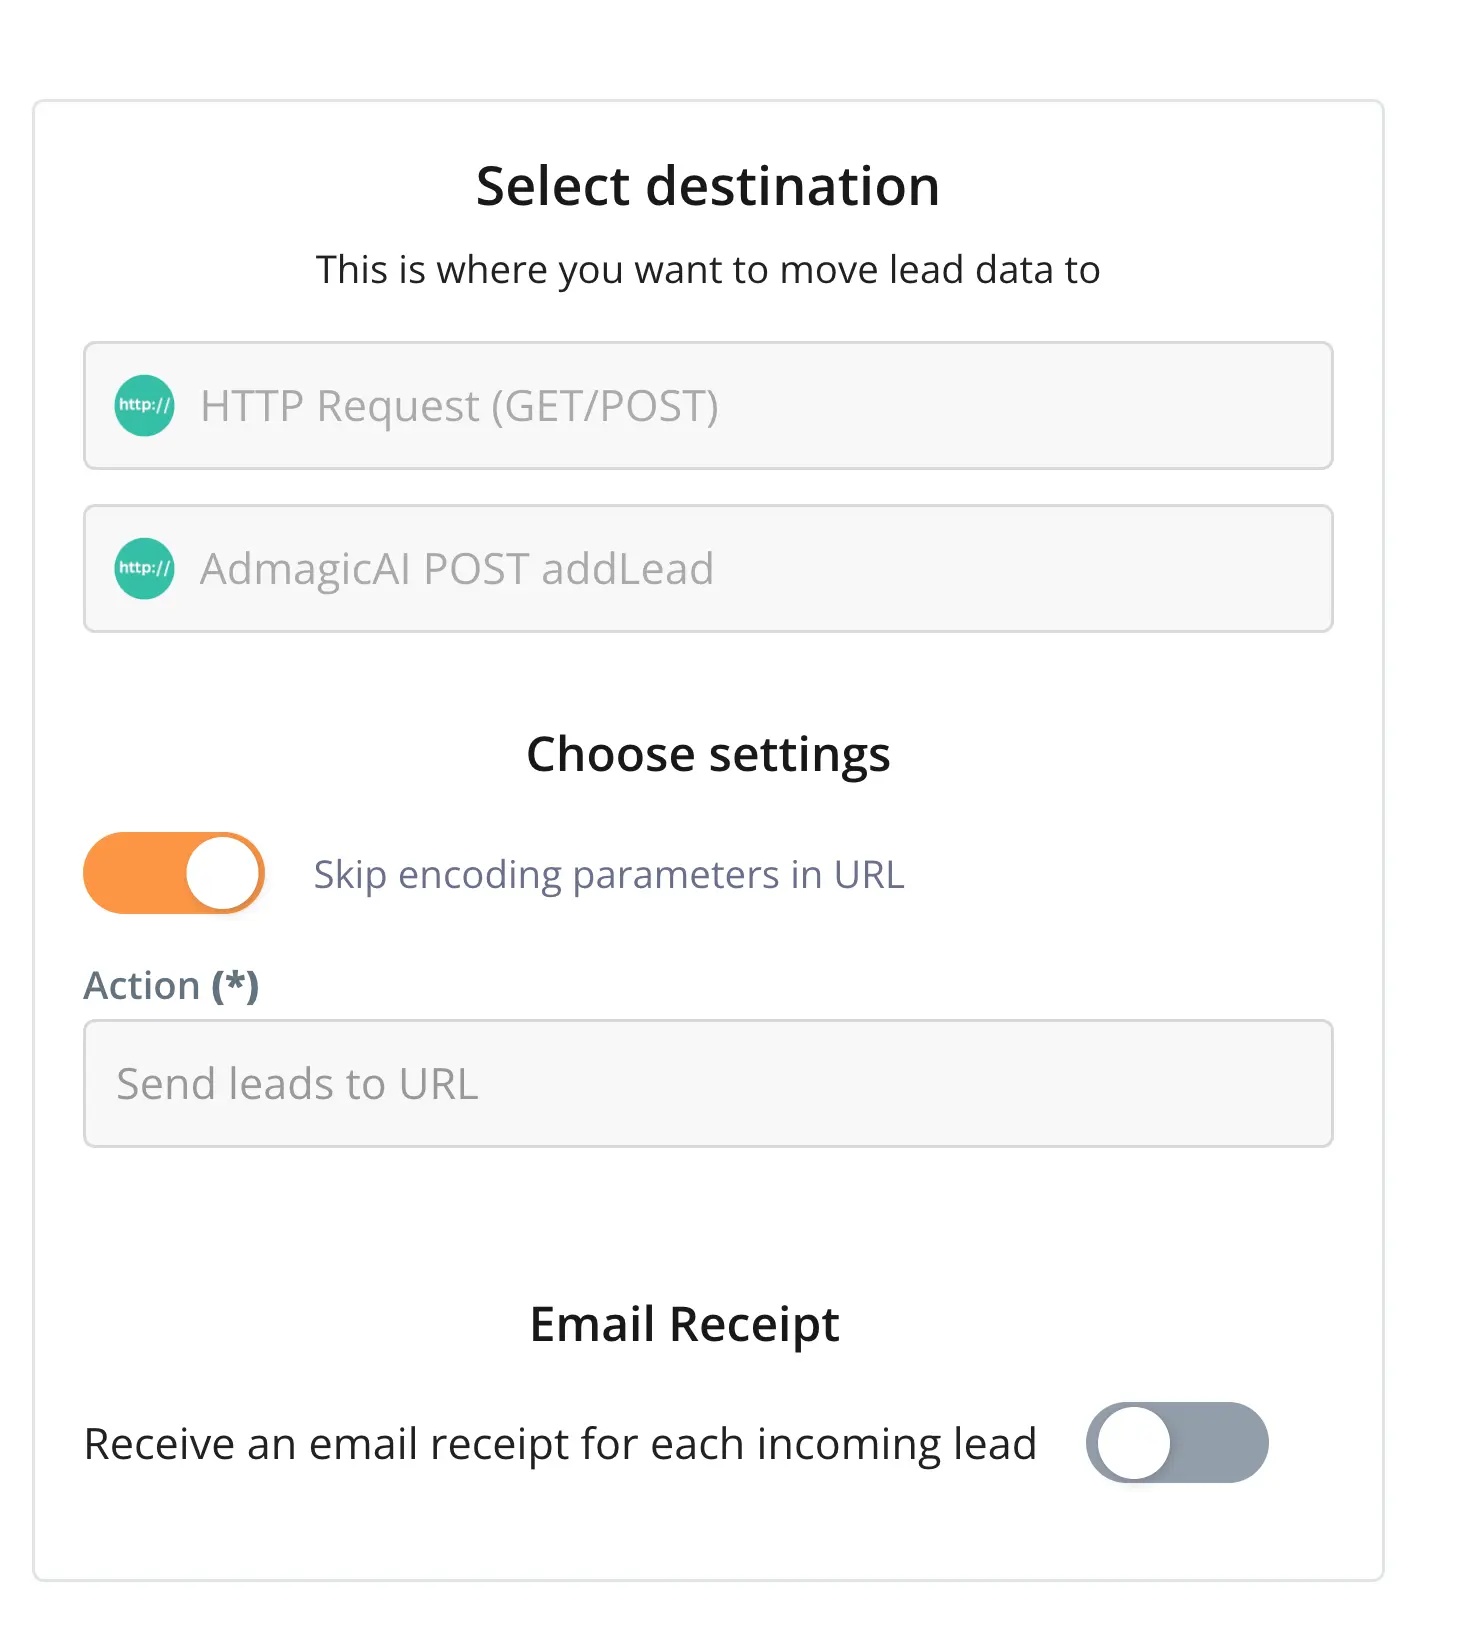
Destination Setup
- Choose Create New Integration from the dropdown.
In the pop-up window that appears:
This step requires precise data input, as you’ll be working with URL endpoints and JSON body payloads. An incorrect syntax or misplaced comma could result in a faulty HTTP request.
Required Fields:
- URL:
https://addlead-z6dlaugova-uc.a.run.app - Method: POST
- Content Type: application/json
- Body:
{
  "apiKey": "REPLACE_WITH_YOUR_API_KEY",
  "contactName": "@@contactName@@",
  "contactEmail": "@@contactEmail@@",
  "contactPhone": "@@contactPhone@@",
  "organizationName": "@@organizationName@@",
  "message": "Imported from leadsbridge",
  "fields": [
    { "name": "form_id", "value": "@@formId@@" },
    { "name": "account_id", "value": "@@accountId@@" },
    { "name": "campaign_id", "value": "@@campaignId@@" },
    { "name": "ad_id", "value": "@@adId@@" }
  ]
}
Optional Address Fields
If needed, you can map these address fields in the body like the others:
address_streetaddress_cityaddress_stateaddress_countryaddress_postalzip
Note: Replace REPLACE_WITH_YOUR_API_KEY with your actual aNinja API key. Do not wrap it with @@.
Important Guidelines
The structure of a field is as follows:
{
  "name": "field_name",
  "value": "your_value"
}
To link a field from LeadsBridge, use this format:
@@field_from_leadsbridge@@Finalize Integration
- Select your new integration from the dropdown.
- Optionally, enable the email receipt option.
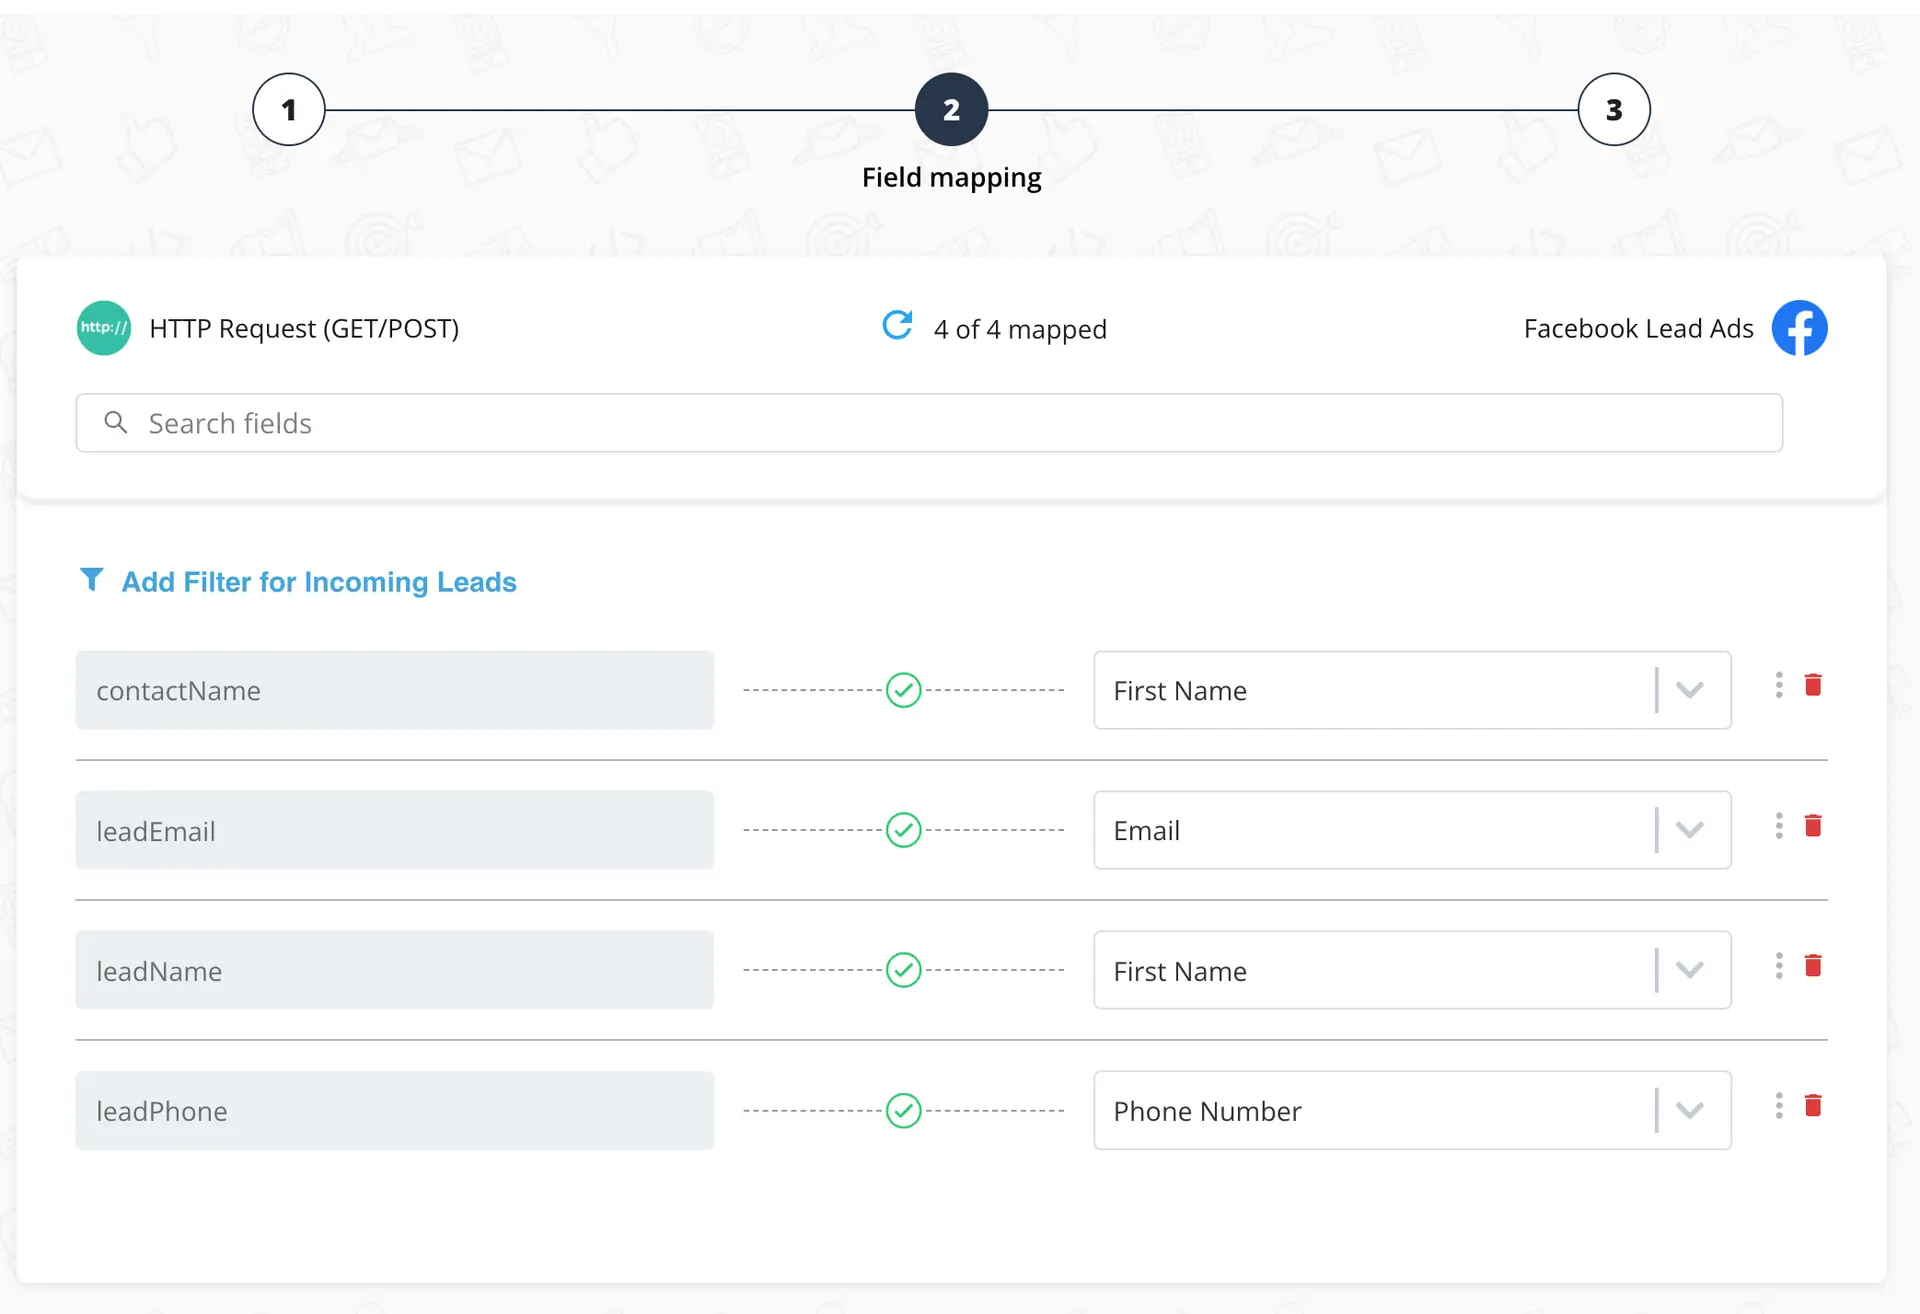
- Click Next under Fields Mapping.
Testing the Setup
- Click Test Connection.
- Click Run.
- Click Save & Publish.
Where Your Data Appears in aNinja
Once integrated, your captured leads will appear in your aNinja CRM:
- Lead contact info: Under the Lead View in the contact section.
- Opportunities: Shown in the opportunity section of the lead view.
- Company info: Displayed in the top-left corner of the lead view.
- Custom fields: Appear in the custom field section.
- Lead Search: At the bottom left of the lead view, containing relevant info or links found via Google search.
Need Help?
If you have any questions or need support, feel free to contact us at [email protected]. We’re happy to assist you!