How Can We Help?
How to Push Leads into aNinja CRM Using API Integration (Custom Form Guide)
aNinja allows you to send lead data directly into your CRM using an API. This is ideal for pushing leads captured from external systems where a manual CSV upload isn’t efficient or desired. In this guide, you’ll learn how to structure and send a lead using the API — including required fields, optional fields, and how to test it using a tool like Postman.
Step 1: Get Your API Key & API URL from aNinja
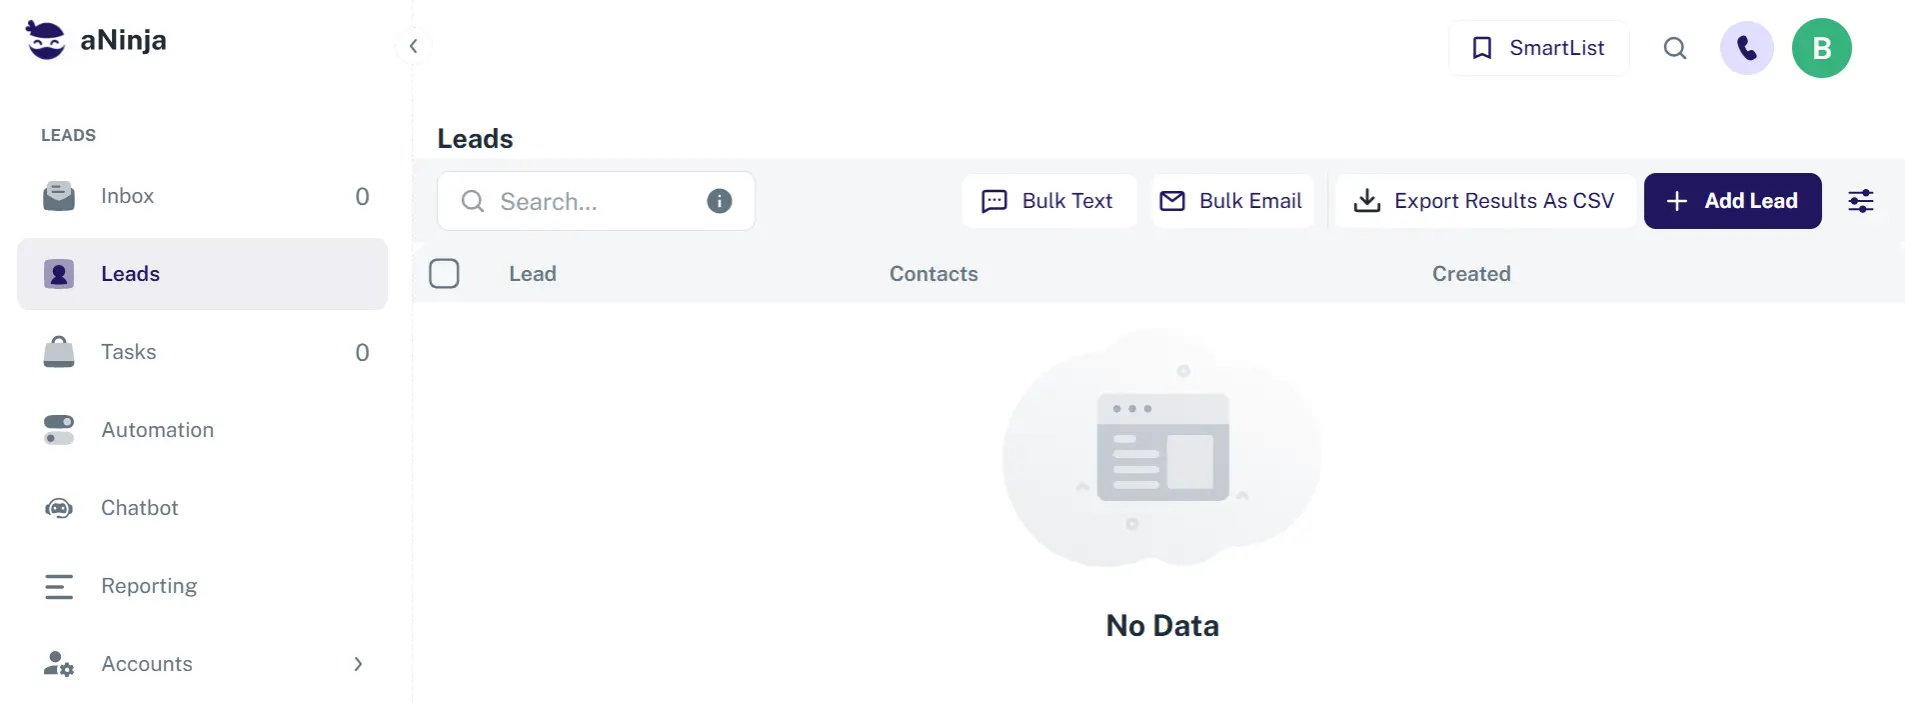
- Go to aNinja 2.0.
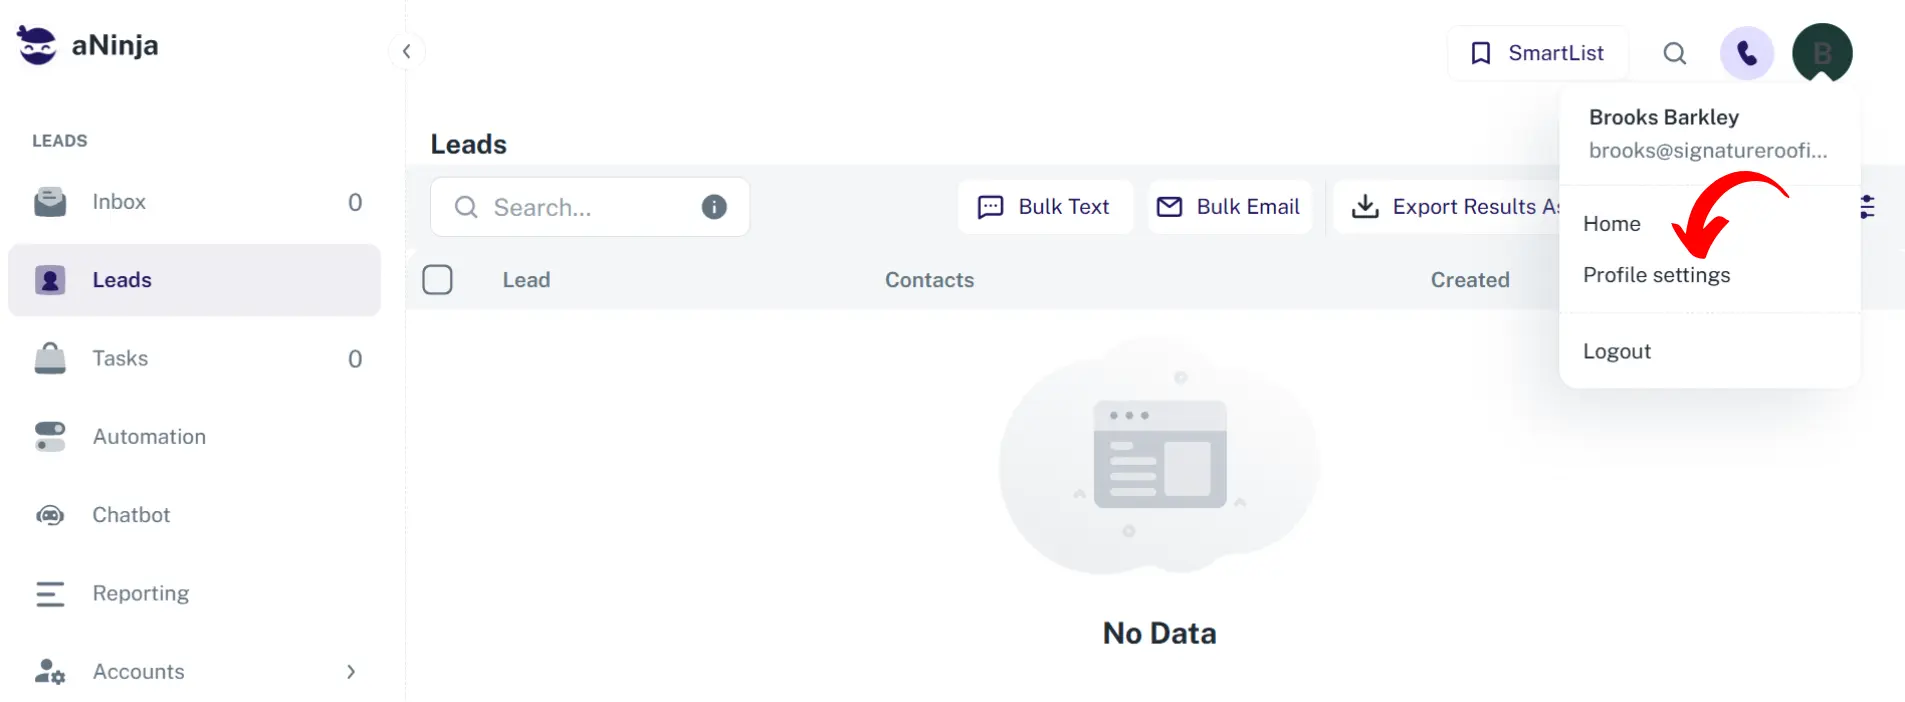
- On the top left of your aNinja, click on your name dropdown and choose Profile settings.
- Go to the API section.
- Copy both:
- Your API Key
- The API URL:
https://addlead-z6dlaugova-uc.a.run.app

Step 2: Map Your Fields in Request Body
Here’s an example of how your API request should be structured:
{
  "apiKey": "REPLACE_WITH_YOUR_API_KEY",
  "contactName": "Add Contact Name Value Here",
  "contactEmail": "Add Contact Email Value Here",
  "contactPhone": "Add Contact Phone Value Here",
  "organizationName": "Add OrganizationName Value Here",
  "message": "Imported from leadsbridge",
  "fields": [
    { "name": "form_id", "value": "formId" },
    { "name": "account_id", "value": "accountId" },
    { "name": "campaign_id", "value": "campaignId" },
    { "name": "ad_id", "value": "adId" }
  ]
}
Important Note: Replace REPLACE_WITH_YOUR_API_KEY with your actual API key from your aNinja Account Profile settings.
Address Fields (Optional)
You can also include these fields:
address_streetaddress_cityaddress_stateaddress_postalzipaddress_country
What Are Fields?
Fields are used to map custom fields in aNinja. If you don’t want to map custom fields, you can omit the fields array from the body — it’s optional.
How to use fields: Replace the placeholder fields in the body with your custom data. The format of each field is:
{
  "name": "field_name",
  "value": "field_value"
}
More Fields You Can Include
| Field Name | aNinja Field | Description |
|---|---|---|
| Contact Name | contact_name | Required. Displayed under Contacts. |
| Contact Phone 1 | contact_phone1 | Primary phone number. |
| Contact Phone 2 | contact_phone2 | Secondary phone number. |
| Contact Email 1 | contact_email1 | Primary email address. |
| Contact Email 2 | contact_email2 | Secondary email address. |
| Company Name | company_name | Displayed top left of lead info. |
| Company Description | company_description | Description under company name. |
| User ID | user_id | User the lead is assigned to. |
| Address Street (1) | address_street1 | Primary street address. |
| Address Street (2) | address_street2 | Secondary street address. |
| Address City | address_city | City of the lead. |
| Address State | address_state | State of the lead. |
| Address Country | address_country | Country of the lead. |
| Address Zip Code | address_postalzip | ZIP/Postal code. |
Step 3: Send the API Request
Now that your request body is ready, send it using one of the following:
- Postman (easiest for testing)
- cURL (command-line)
- Custom code (e.g., Node.js, Python)
- Your website form backend (Node, PHP, etc.)
Example using Postman:
- Open Postman.
- Select POST method.
- Paste API URL:
https://addlead-z6dlaugova-uc.a.run.app - Go to the Body tab → select raw → choose JSON format.
- Paste your formatted JSON with your actual API key and field values.
Step 4: Verify in aNinja
- Go to your aNinja dashboard.
- Click on the Leads section.
- Search using the name, email, or phone number you submitted.
- If the lead appears — your integration is successful!
Troubleshooting Common Issues
- Double-check that your API key is correct.
- Make sure the API URL is exact.
- Ensure the
contact_namefield is included — it’s required. - Verify field names match aNinja’s expected format.
- Check the response in Postman — it should return a success or error message.
- Need Help? Contact aNinja Support for assistance.